Showing posts with label home decor. Show all posts

Tuesday, July 19, 2011

Living Room Inspiration

I've been feeling blah about my living room lately.  I've had an idea of what I wanted and I've gathered a few pieces, but nothing has really come together quite like I was hoping for.  So this morning while my children were blissfully playing outside and I was blissfully catching up on a few blogs I came across Erin's House of Turquoise blog.  And lo and behold what was her post on today?  None other than this gorgeous living room from Cassity at Remodelaholic and Roeshel at the DIY Showoff.  Both of whose blogs I read and love.  I was so excited.  It's exactly what I've been envisioning and just haven't been able to put together.  And lucky for me the pieces that I've been collecting are pretty similar to what they've used.  Holy heck, how often does that happen!?!  Not very often I tell ya.  Anywho, I'm pretty excited because I have motivation to finish up my living room again and I think the only thing I need to get is a little bit of red paint.  Agh, I'm excited!  Time to get to work.  We have family visiting next weekend and then again the following week, so there's my motivation.
 I love the pops of red and turquoise.


 I'm loving the wood crate end table... and these lamps, well mine aren't the exact same, but they are the turquoise glass and the shape is the same and the lamp shade is the same.  I knew I wasn't going to regret buying those.
 I'm definitely a fan of the beachy theme.  We've got the same sort of theme going on at our home.
I love everything about this room!

Tuesday, April 19, 2011

Gallery Walls

A couple weekends ago we did some re-arranging of our front room/reading room which freed up a large amount of wall space.  When we moved into our home a couple of years ago we put a large bookshelf against a large wall, mostly because I was intimidated by the large vaulted wall (we moved from a small 1950's rambler that didn't have high ceilings or a lot of wall space).  Of course, I'm much more comfortable in my ability to decorate our homes spaces now and I think it would be great to add a gallery wall to showcase pictures from our various travels.  We've already done this in our stairwell and on one of our living room walls (on a much smaller scale).  I've been thrilled with how they turned out and I'm excited to tackle the wall in our front room/reading room.
Our stairwell (I actually tackled this project a year ago and I thought I posted these pics, but then realized I didn't)
 The view from our kitchen
A small display in our living room... these pictures really need to be updated.
Here is our blank slate...
 Here are my "research" findings

Thursday, July 8, 2010

Munchkins Bathroom: Finally, Art Work...

Okay, I know I started thie munchkins bathroom way back in March and I've been a complete slacker because I started the project with gusto and then it just sort of petered out pretty quickly (finding out I was prego probably didn't help that).  Anyways, I started some art work for the bathroom since I knew I wasn't going to find something and if I did it would of course be out of my budget.  So I started and then realized that I really didn't have any of the paint colors I needed, so the project sat on the kitchen island for about a month and then it got shoved to the back of the craft closet moved to my craft closet.  Well yesterday I had to go to Hobby Lobby (so hard I know) and I actually remembered to see what paint colors I needed.  So this morning after breakfast I got to work and I have to say that I am thrilled with how they turned out.  They look so stinkin' cute next to the shower curtain.  Of course, the bathroom is still not done, but now I have some motivation again, so hopefully soon.  It's on the list of projects before baby arrives.
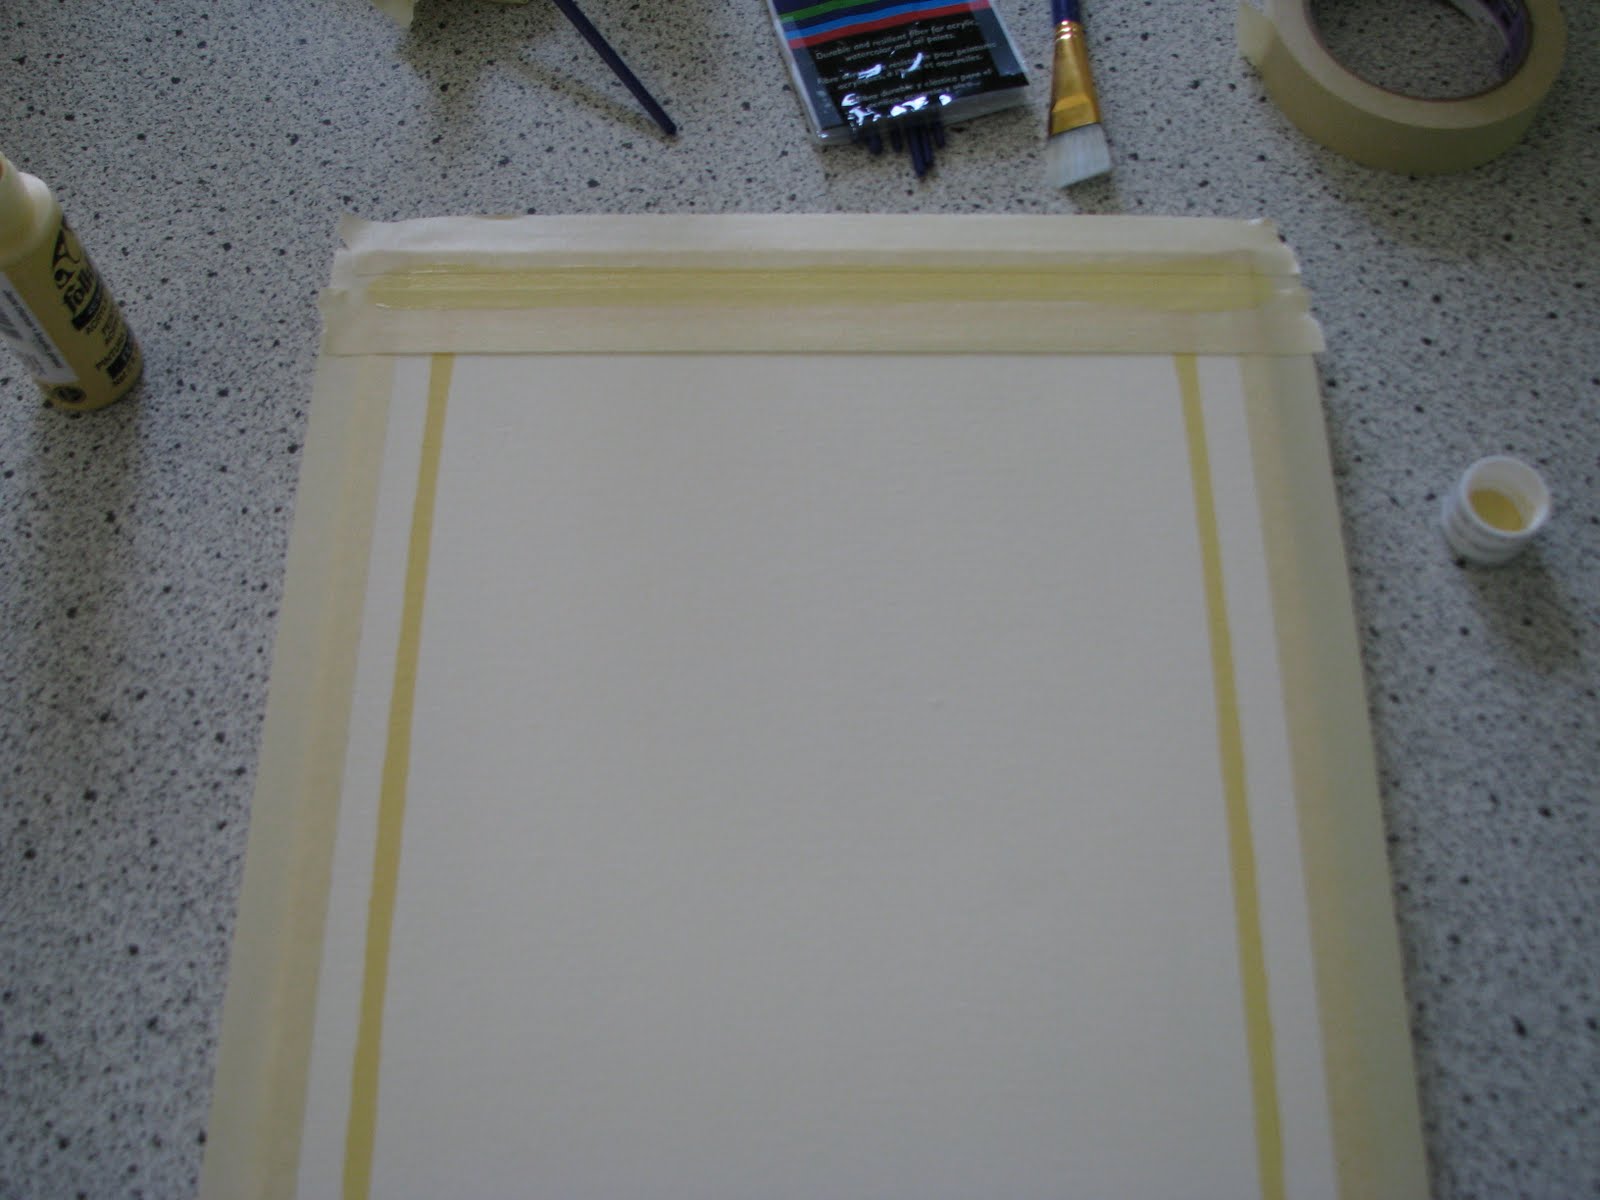
It only took about 20 minutes to do stripes on both canvas'.
I taped off each strip so I would actually have straight lines.
I sat on the bathroom stool for about 1/2 hour drawing these while staring at the shower curtain.
They are so adorable... Ella loved them.
Not too shabby :)

Wednesday, March 10, 2010

Thank You Pottery Barn

Remember a couple of posts back when I showed you some great springtime inspiration from Pottery Barn?  Well I finally got around to replicating that gorgeous glass vase with quail eggs.  I started with some paper mache eggs that I got at Michaels (6 for 1.99).  I painted them with some blue craft paint and then used a toothbrush that dear hubby had just thrown away to splatter them with some dark brown craft paint.  I'll be honest, it took me back to being a kid when we would "spritz" ourselves with water from our toothbrushes.  Kinda gross now, but it was fun as a kid.  Once they were dry I just tossed a little moss into the bottom of my glass vase and piled the eggs on top.  Since I had everything but the eggs this only cost me $1.99.  Much better than PB's $43.00 for the vase and egg filler.  So thanks PB for some great inspiration.
Pottery Barn's

I only wish I had of painted then a tad darker, but I'm happy with them.

Wednesday, March 3, 2010

A Spring Wreath

Because we've had such a mild winter around here, it's beginning to look a lot like spring.  So I had to find something "springy" for my shutters.  When I was at Tai Pan last week (yes I am one of those lucky few who live right down the street from their ginormous store) I saw the cutest little tulip wreath.  Of course I quickly put it back when I saw that they wanted $30 for it.  I figured I could attempt to make my own or hold out and hope that they went on clearance at the end of the season.  I knew that was a fat chance though, so I stewed about it for a few days and this is what I came up with.  

Materials:
tulips (I used 6)
some sort of berry filler
moss
wreath form (mine is from the dollar store)
hot glue gun with lots of glue
floral wire
ribbon for hanging
I already had a ton of tulips that I bought years ago and they've been sitting in a box since we moved.  I also had a wreath just waiting to be used.  The only supplied I needed to buy for this project were moss (I recently used all of mine and needed to replenish my stock) and a berry filler.

Step 1: wrap the wreath with tulip leaves (depending on how much moss you use you might not need to do this step).  
Step 2: Cut stems off tulips about 10" down (the bottom of the highest leaf).  Poke the ends underneath the wrapped leaves and attach with lots of hot glue and floral wire.

Step 3: Attach some berry filler using hot glue.

Step 4: Attach the moss to the wreath using hot glue. When you're done with the moss attach a few more berry fillers using hot glue.

Step 5: Hang with some ribbon.  I used a great spring green.  I just wish my ribbon was wider, but this is what I had on hand.


I'm linking up to:


Monday, March 1, 2010

My Lucky Blocks

As much as I would like to decorate more for the little holidays throughout the year, I just never manage to get around to it.  I always decorate for Halloween, Fall/Thanksgiving and Christmas and I even have a few decoration for Valentines Day, St. Patrick's Day, Easter and the 4th of July, but it still just doesn't happen.  So I've been trying to get a few little things out.  I saw this adorable 'lucky blocks' kit on clearance last summer for a few dollars and just had to order it.  So I finally got around to making it this last week.  Pretty cute I think...


I'm linking up to:


Thursday, February 25, 2010

A Little Spring Inspiration

About this time every year I start itching for spring to come.  I really don't mind the cold, but only for so long and it seems like winter lasts longer and longer every year.  It isn't until June that the weather really seems to warm up and stay warm here.  We do get several teaser days though starting in March.  So I suppose I'll take what I can get.  Anyways, since we are one of the few places that doesn't currently have snow on the ground (which is very unusual for us), I've really been longing for spring.  So I scoured Pottery Barn for some good springy inspiration.  As usual, they didn't let me down.  Thanks PB.

This is a cute little Easter project
I looove this.  You'll certainly see something similar at my house very soon.

This makes me hungry...
I totally have these same wooden dishes... although I got mine in Brazil.

Love the silver accents

Love the monograms
I could use a few of these cherry blossom branches